Weekly Printables!

Firstly, thank you for the views on the printable decorations! I don’t push P+T too much, so I wasn’t expecting to get many, but I’m very happy with the traffic they brought to the site :’3

Secondly- I’m back with more printables! ^^/
This one was a passion project because I love getting organised with planners, it helps so much for special projects and just everyday life ^^

I’ve been using wall planners for a while now, but each week I have to add special sections to them to keep track of things (it gets a little annoying XD).
I tried keeping trackers in my diary, but I don’t always have the motivation to open it (especially on a bad mental health day), it’s just so much more handy to have everything set up on a wall :3
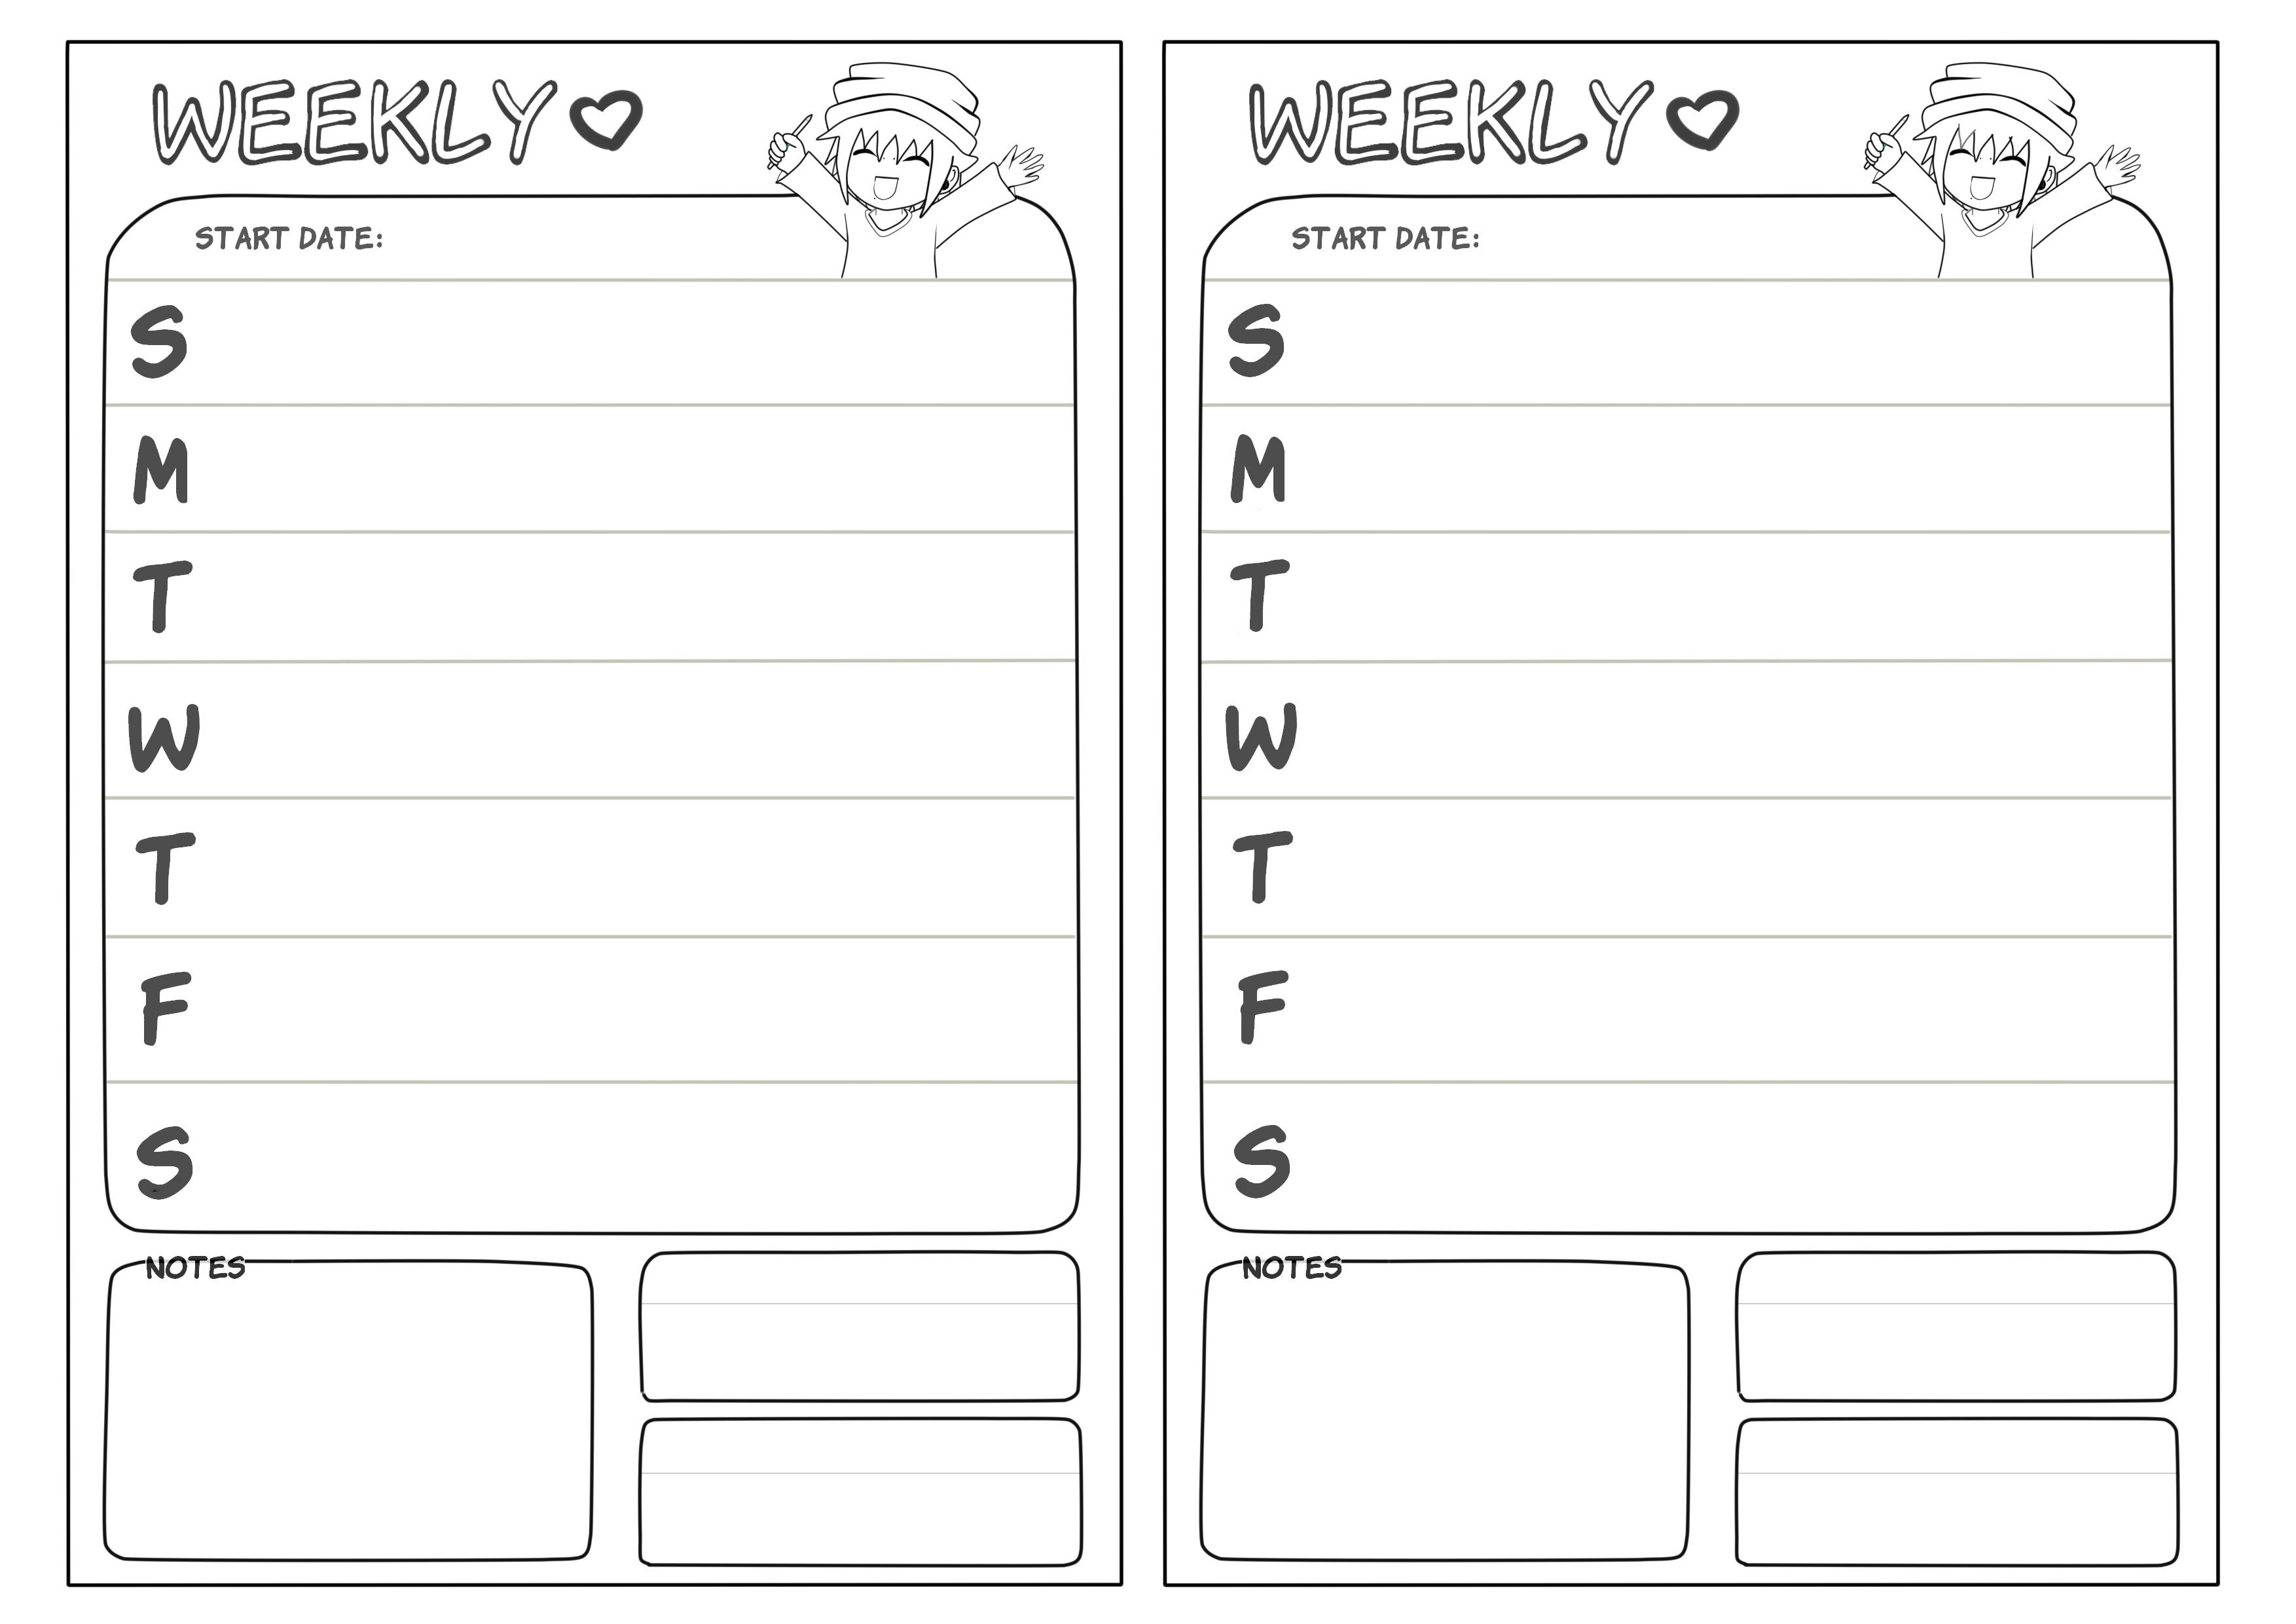
So, with all this in mind, I decided to invent my own little weekly Pippy planner with trackers that can be put up on a wall or even just slide into a diary (I plan to stick mine in my diary at the end of every week ^^)

The layout was fun to design (and look at happy Pip!), it’s just my personal preference, but I love it and think that other people might too!

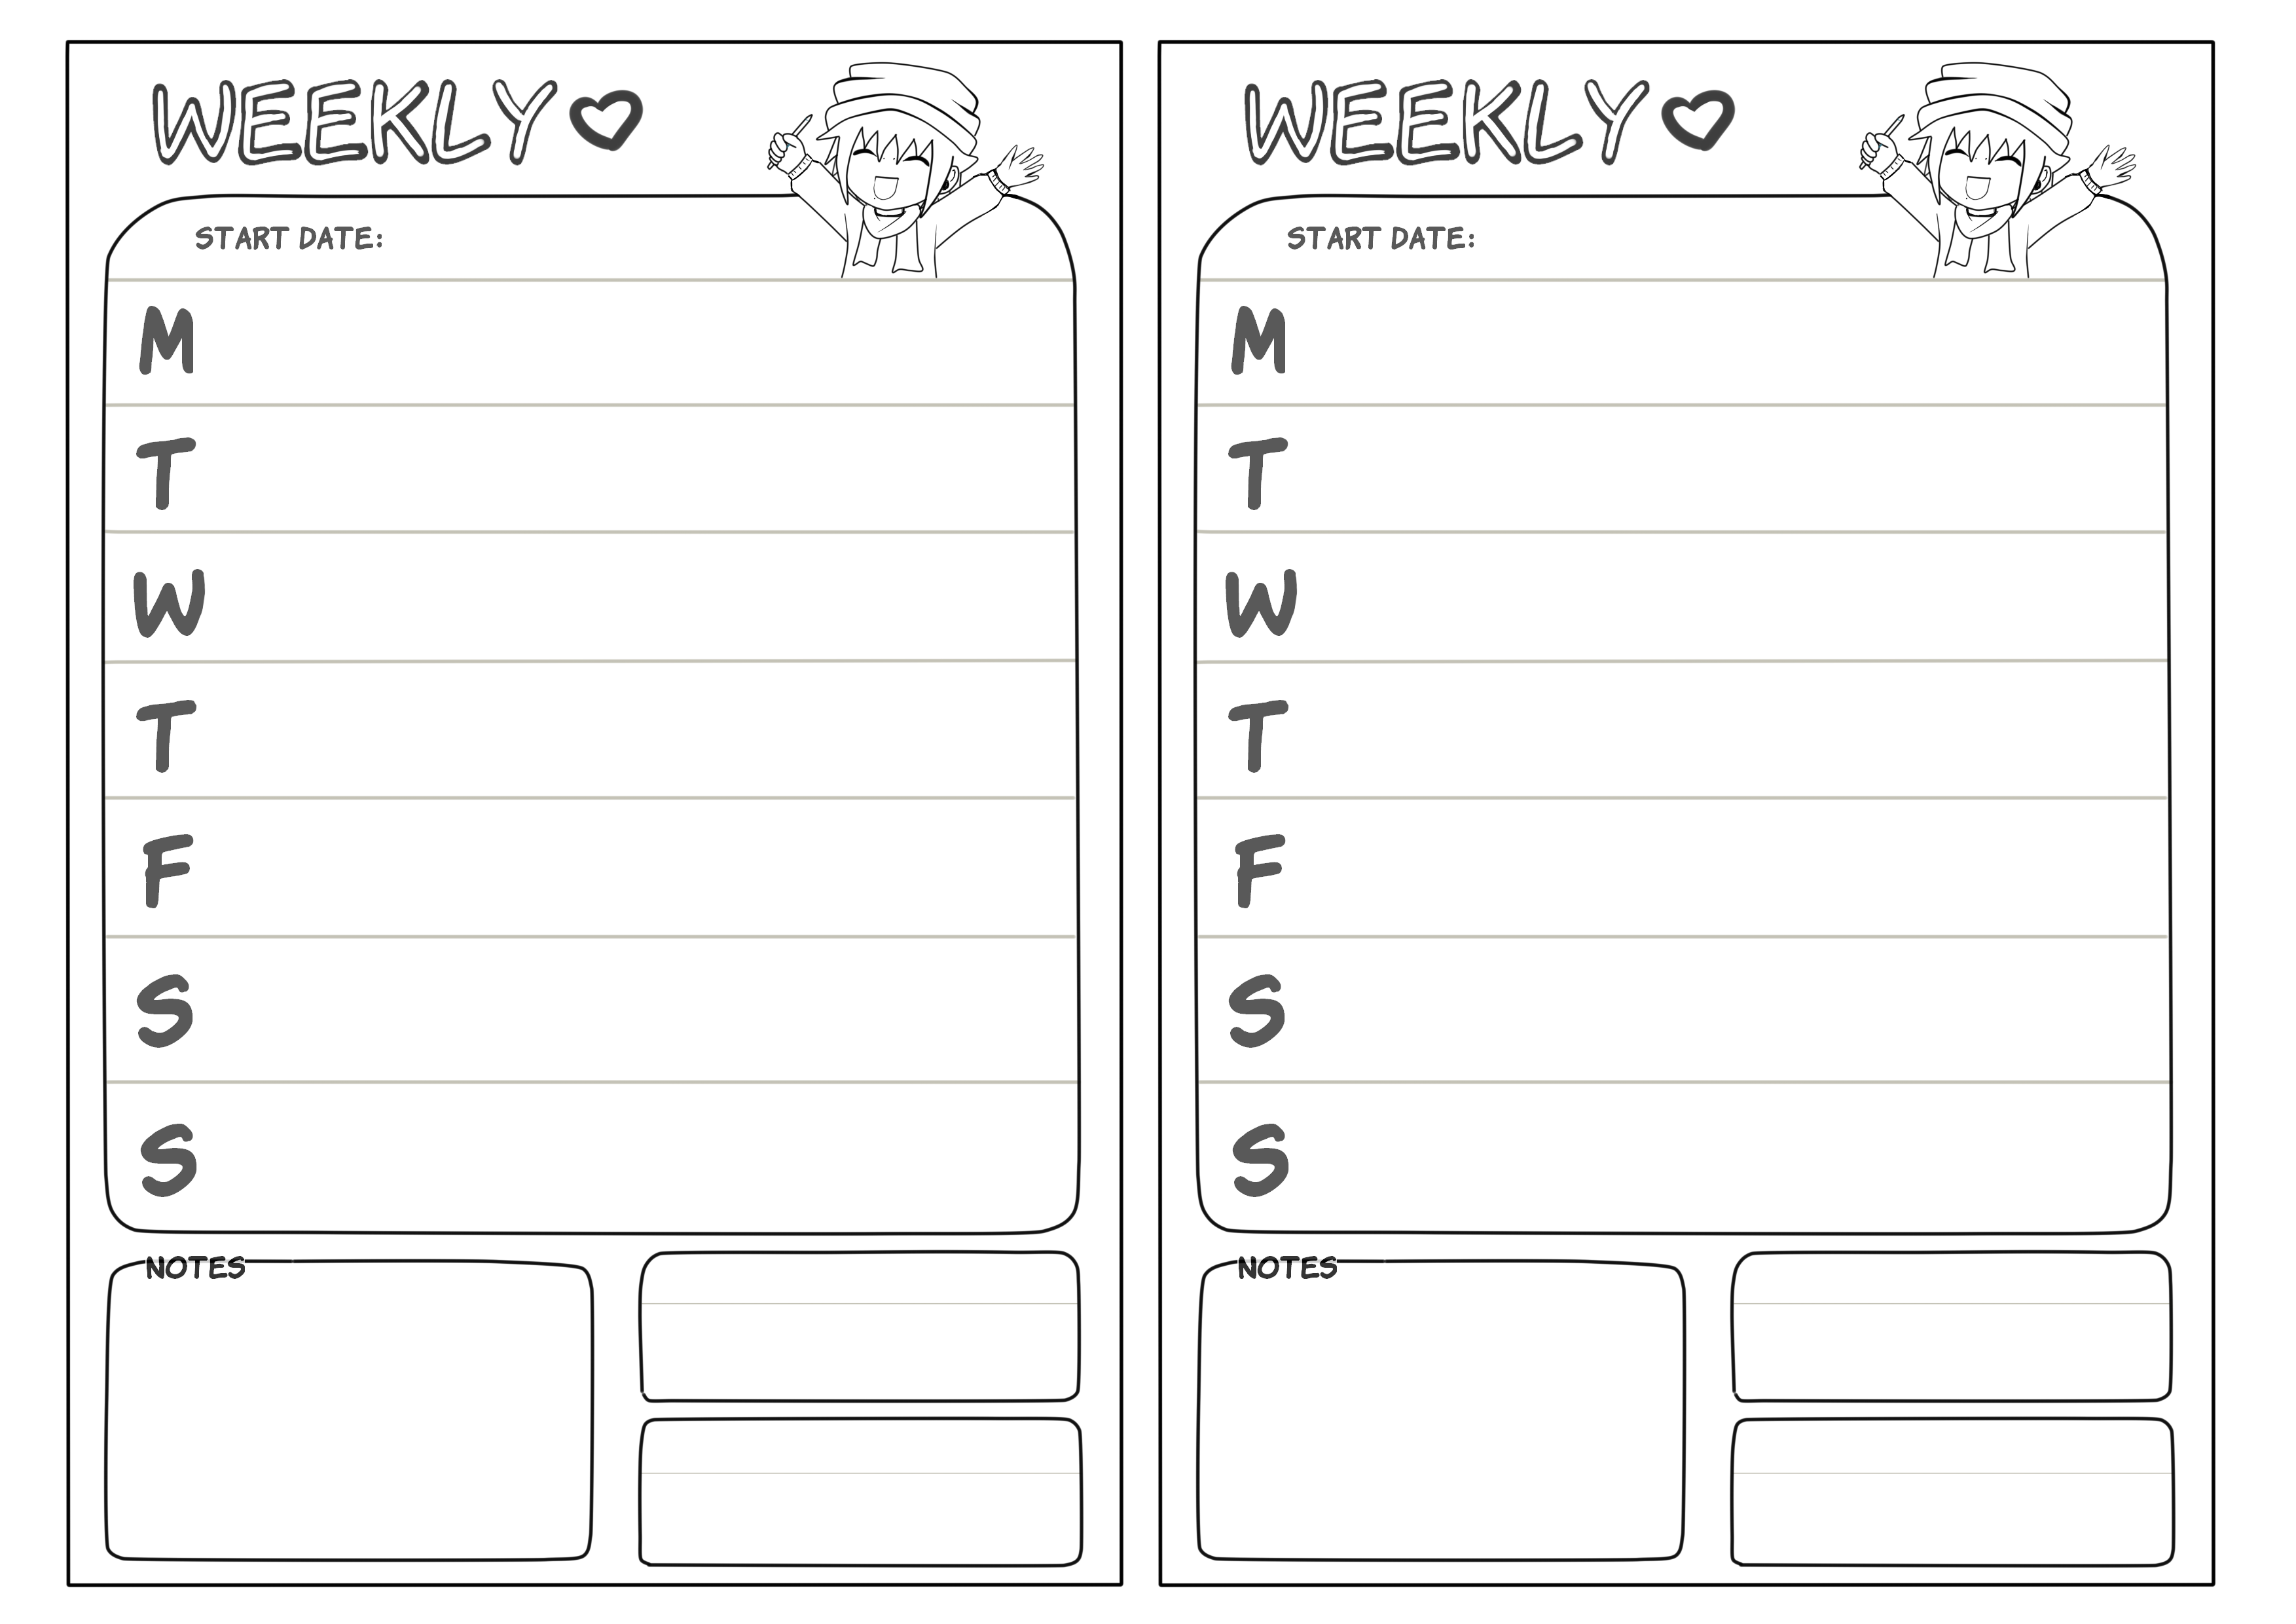
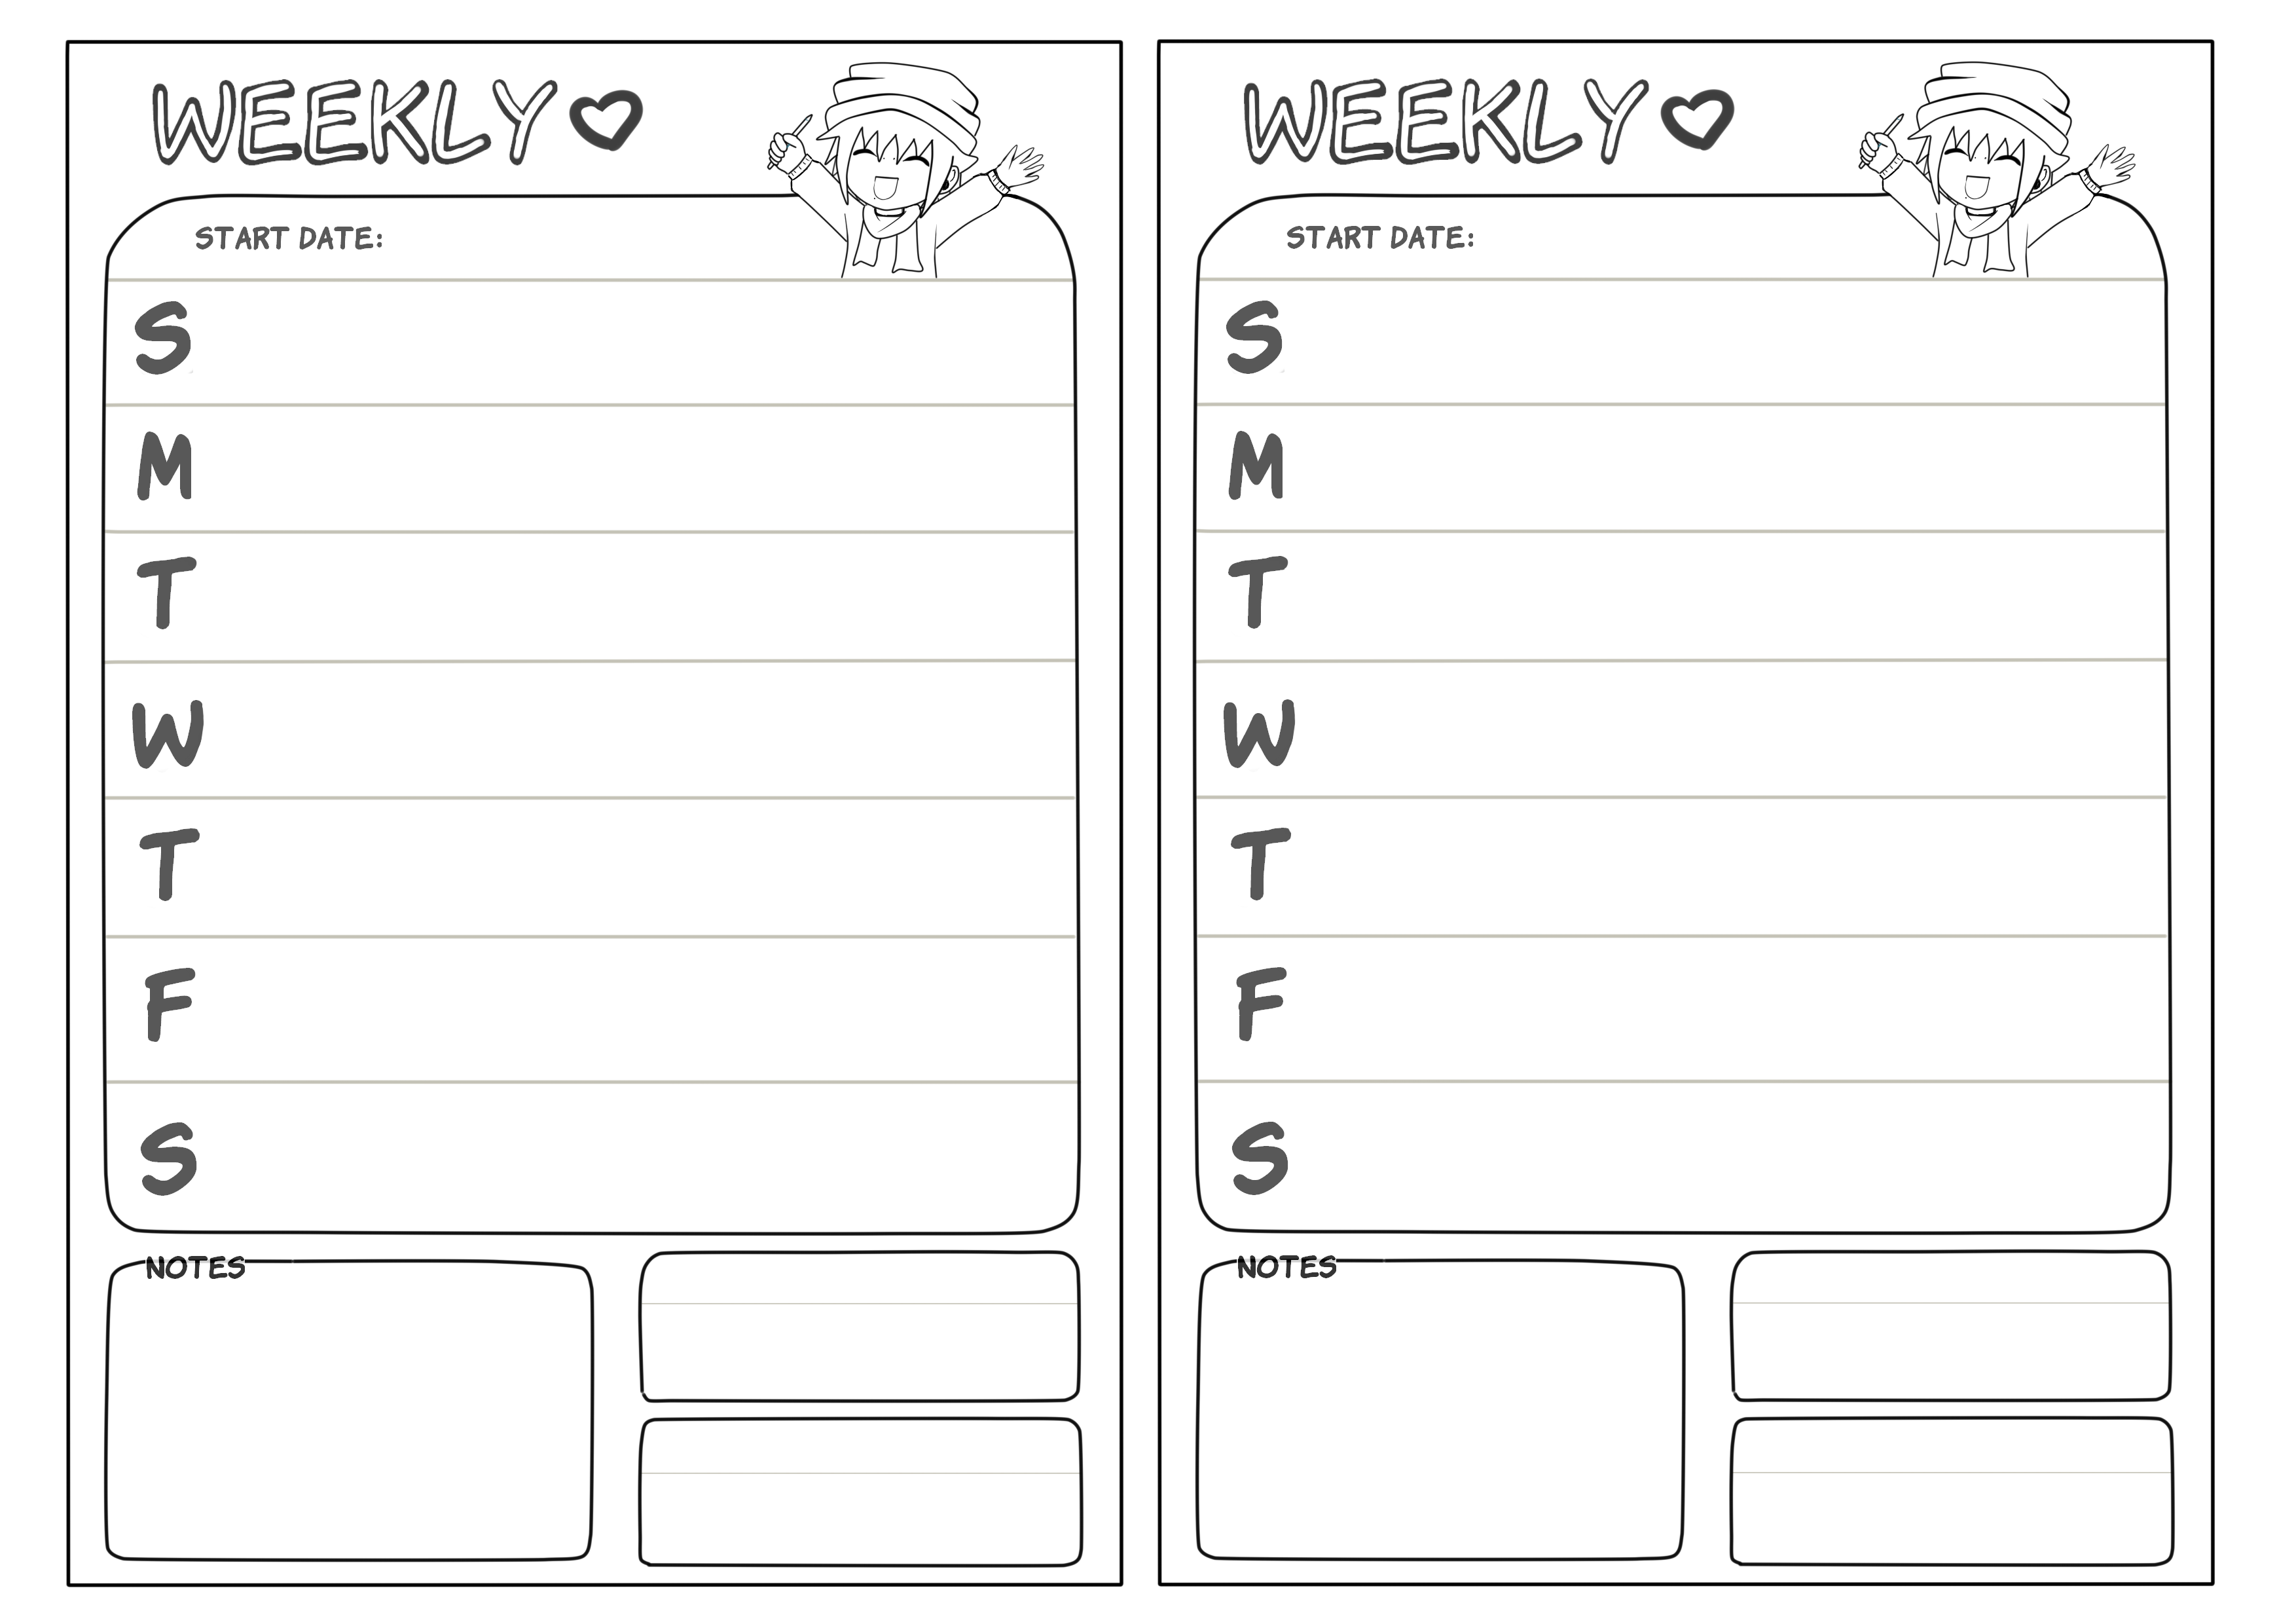
So here it is, with both Monday and Sunday starts-

Monday Start
Sunday Start

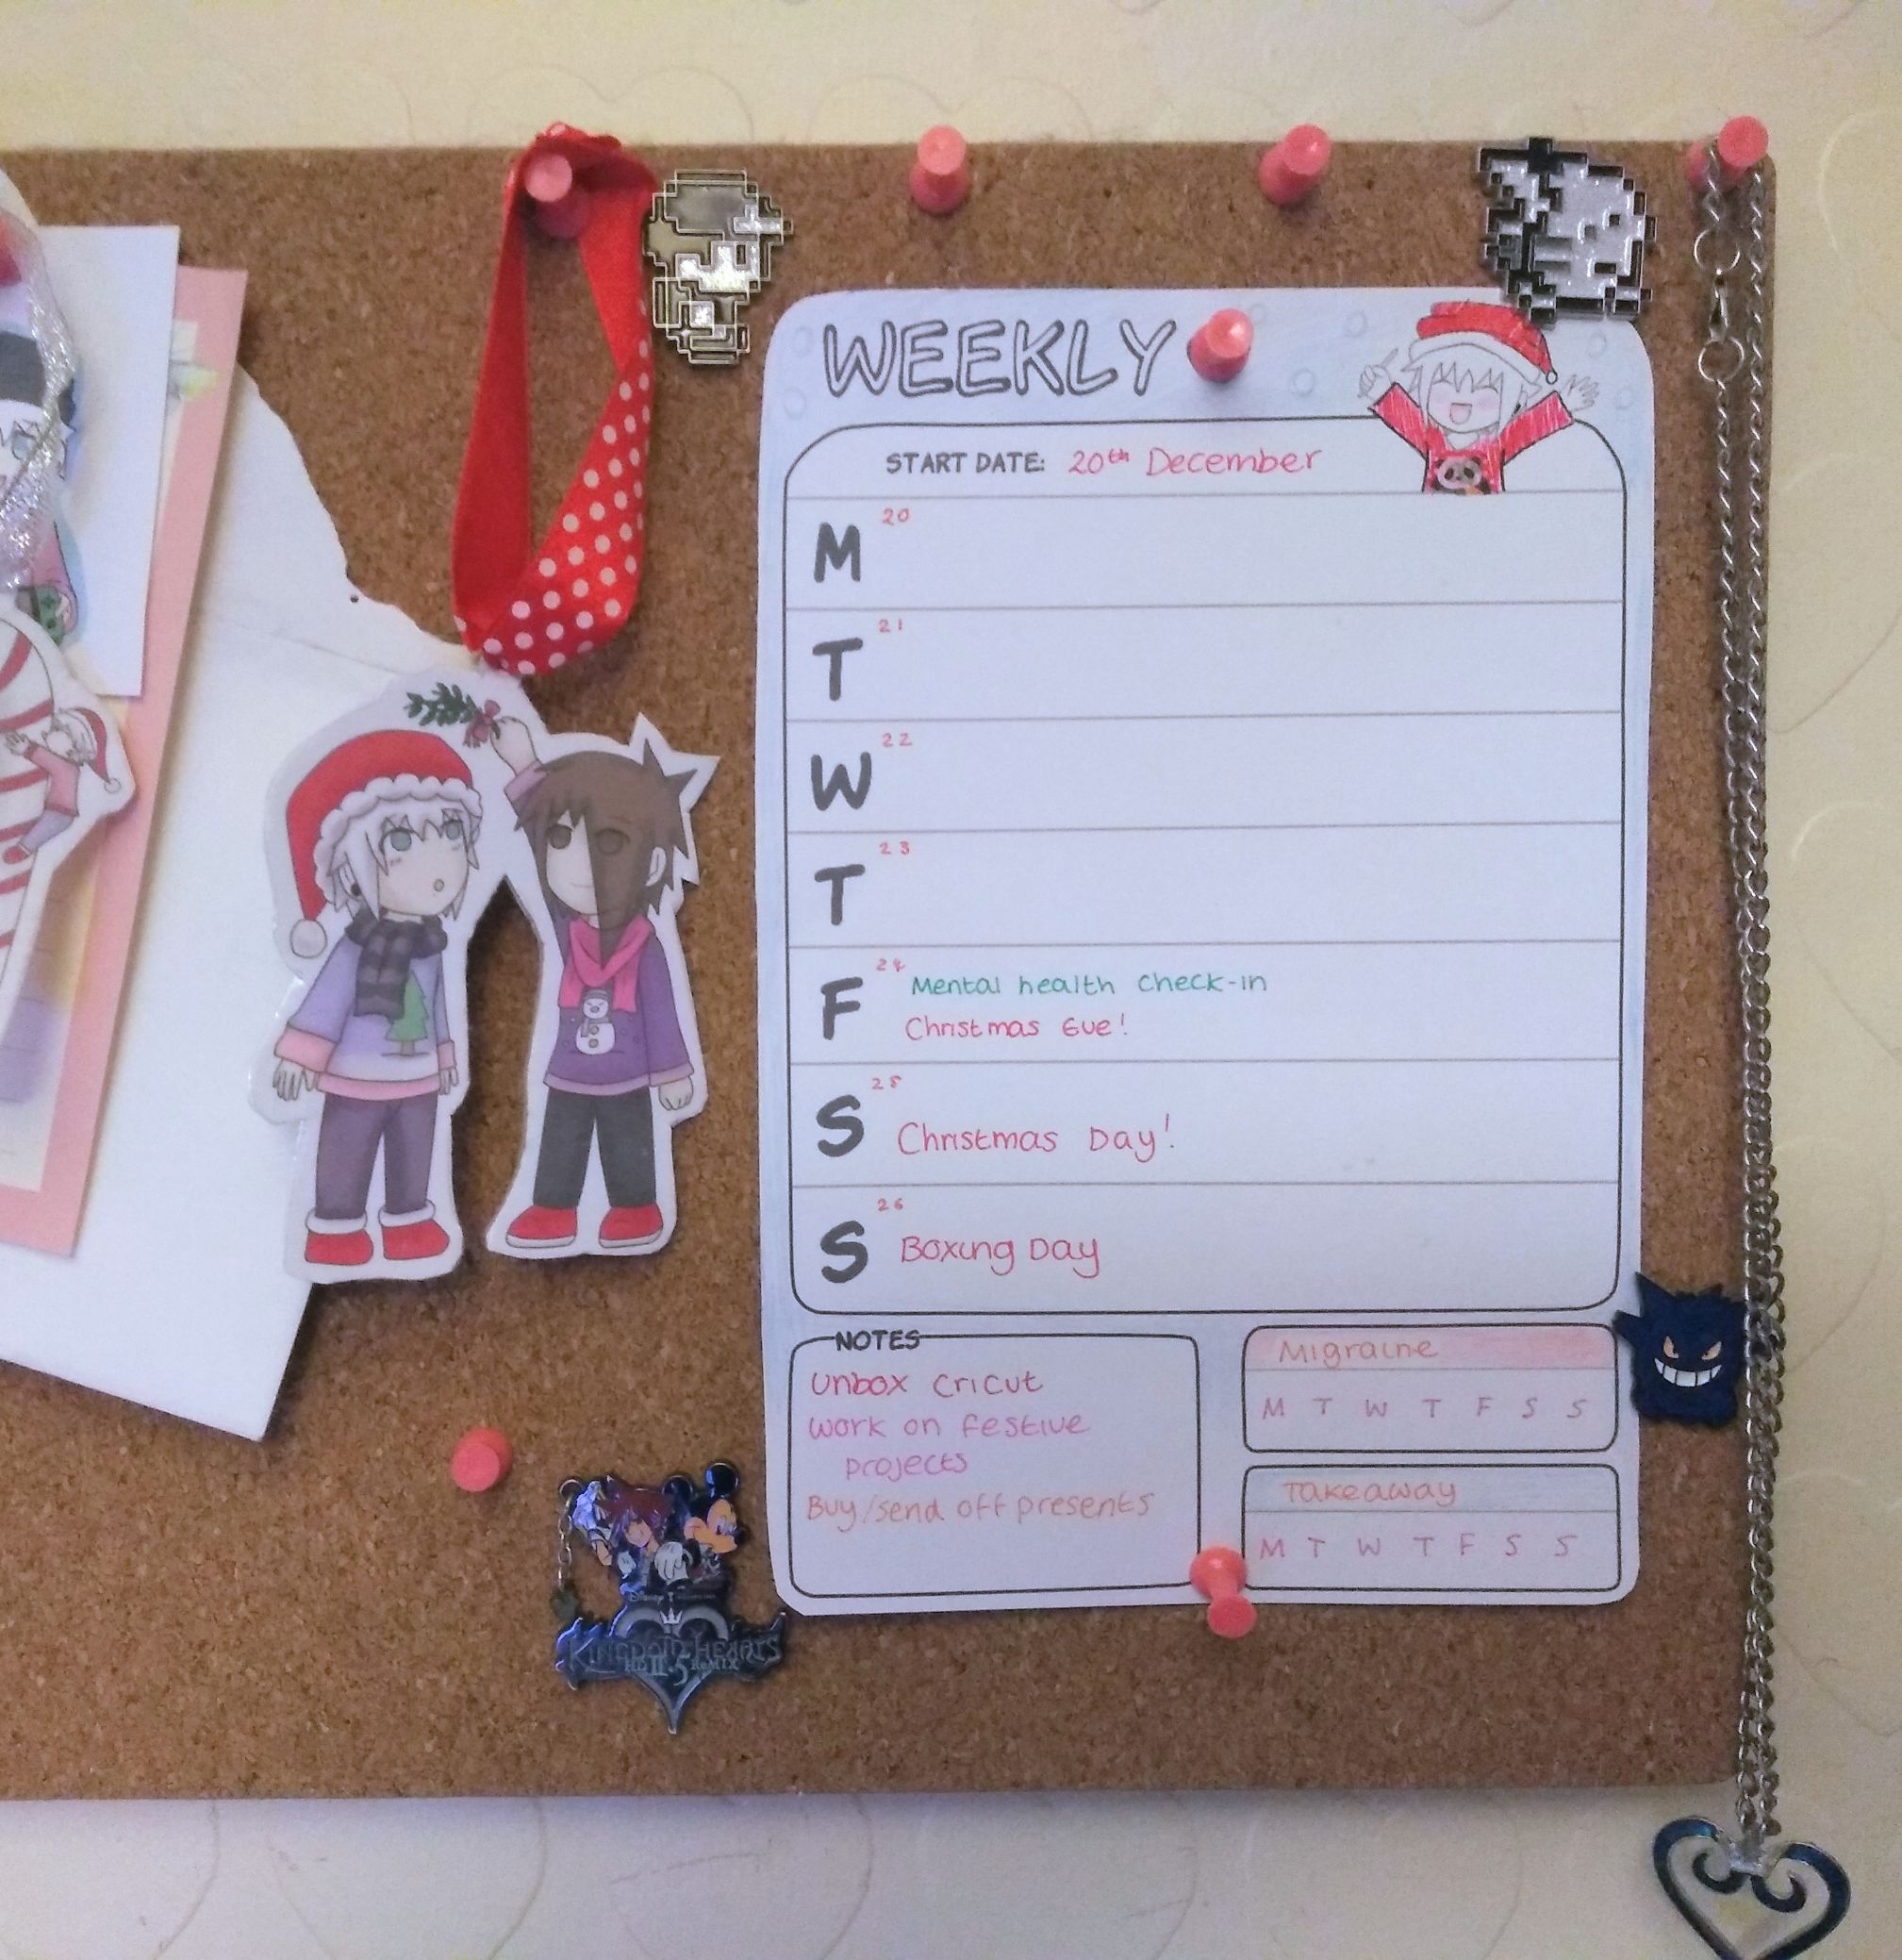
I printed off a prototype last week to use this week and it has been so nice! No giant weekly wall planner, just a minimal, yet spacious way to record special events, track things and get organised ^^

Forgive how wonky it looks, I can’t cut straight to save my life XD

The line art versions are really nice to customise, too! Though, of course I plan to post special ones (both coloured and not) through the coming year.
Here’s Winter Pip in a cute jumper and scarf~

Planner design is new territory for me, but as I get braver, I’ll start start to tweak these even more, maybe add faded illustrations in the boxes or something ^^

One thing I really want to do is design a matching to-do list (maybe with Taka!), I think they would make a super-cute set :’3

Merry Printables!

Hello! I’ve been hard at work making some printables to share with you this festive month and here’s the first lot- Paper decorations!

What are Paper Decorations?
Paper decorations are exactly what they sound like- Paper decorations! XD
They have been gaining popularity in the crafty world the last few years, so I thought I’d make some P+T ones this year!
You can put these on a tree or just hang them around the house to make things a little more festive.
As you can imagine, they are a little bit flimsy on their own, but I’ll tell you how to get around that soon.

So here they are!

Aren’t they cute? X) I’ve made the border as free as I can, so it can be used as a (forgiving) guide to cut around, but there is also a borderless version ^^

But Kimi! Paper decorations don’t sound very.. durable..
Good point! Though these decorations can just be printed, cut out and placed wherever, this is supposed to be a fun DIY project and really requires a little more than just a printer and a pair of scissors- matter of fact, I’ve prepared a colourless sheet (once again, border and borderless) for people who want to get even more creative and colour their own decorations ^^

I’ve made sure all the lineart is joined perfectly, so people who don’t want to traditionally colour their decorations can easily load the file onto their favourite paint program and simply use the bucket tool fill in the gaps before printing ^^
Obviously, you don’t need to use the PB tool, relaxing digital colouring is always an option!

Okay! So, for this project, all you need is:

  • The printables
  • A pair of scissors
  • A hole punch
  • Laminating strips
  • Glue Stick
  • Card
  • Some ribbon/string

Step 1 is to print out the printable!


Step 2- (optional) Stick a laminating sheet over the paper for extra protection (this will also make it less prone to tearing)


Step 3- Roughly cut out the decorations (I cut mine in squares) and glue to cardboard.


Step 4- Cut :3
If you can, use a hole punch to achieve a perfect circle for the hole where you’ll be hanging your ribbon/thread. I just used scissors XD


Step 5- Admire how cute they are looking
Step 6- Thread some ribbon or string through the hole you made, tie it together and place your new decorations wherever you want!

And there you go!!
Of course, you don’t have to perfectly follow the steps, you can make these however you want! Intertwine some nice ribbon or thread together to make it look more festive, you can even print these onto shrink plastic and make tiny charm decorations! XD

I hope anyone who tries this out enjoys this little craft, I’d love to see photos! ^^

I’ll be back soon with more festive printables~!

Catch up~

Okay, so a lot has happened recently and I’m excited to share some things!
Firstly though, here’s what I got up to during October, in the lead up to Halloween-

I gave myself from the end of september to Halloween to finish a special picture (actually, I ended up working on 3 😂) and here’s the result that was posted on the night-

I dipped out of my comfort zone to play around with colour and lighting and it looks kind of cute! ^^

[I could have finished sooner, but I’ve been ill since September and struggling a bit (..well, more than usual) with energy levels.. October was real rough.. a little TMI, but there you go 😂]

Anyway, to make up for no Pip or Treats this year (and taking my time to finish), a colouring sheet was also uploaded to the P+T twitter page for people to colour in either digitally or traditionally (or even both! 😂)

Click to open in new tab

If I get the time, I’m definitely going to fix this up because I’ve noticed that some lines don’t connect, which would probably be a headache for anyone who likes to fill in flat colours with a paint bucket tool.

so that was Halloween! Now, let’s move to the festive treats I have lined up for December/christmas-

I’m working on lots of printables including card designs and this little paper decoration set ^^/

I’ll go into more detail about how paper decorations work in a later post, but they have been pretty popular these last few years, so I thought I’d join in with some P+T designs this year! 😊

So, the last piece of news is that I’ve made a… pretty big investment recently that will push the speed of making the merch that was promised maaaaaany years ago 😂